Third, inkjet printing quality inspection and control
Ink jet printing uses ink to copy the color and gradation of the original, and the viscosity and fluidity of the ink are often required to be high. After the nozzle is used for a period of time, the ink composition changes due to the temperature change and the condensation phenomenon occurs. , As well as dust, dust, etc., in the air can cause nozzle clogging. In addition, random ink-jet digital printing technology typically utilizes a combination of reciprocating motion of the print head and linear motion of the paper in the print direction to replicate the object. Therefore, in addition to solving the problems that other color digital printing needs to solve, inkjet digital printing needs to solve problems such as nozzle clogging and print head correction. Using the measures proposed by EPSON can solve nozzle inspection and print head correction well.
Nozzle check
Check the various colors by printing a nozzle check chart to find if the ink of all colors is missing or not. Although the operation method given below is for the EPSONSTYLUS PRO7000 color inkjet printer, but for other inkjet printer processing methods can refer to the implementation.
The nozzle check procedure is: 1 Load paper. 2 In mode selection mode, press the mode selection button until TEST PRNT MENU appears on the LCD panel. 3 Press the item button and NOZZLE CHECK=PRINT appears. 4 Press Enter.
The printed nozzle check chart is shown in Fig. 5. The series of diagonal lines in the drawing is called the test line and is divided into two groups. There is no difference in line thickness, but the line depth is different. How many inks are there in an inkjet printer? How many lines will be printed? Use these test lines to check which type of ink is blocked by the nozzle and decide if you need to clean the printhead.
If some line segments are found in the test line of the nozzle check drawing, the print head needs to be cleaned. Pressing the cleaning button on the control panel for more than 3 seconds can also be cleaned using the Printhead Cleaning Utility in the EPSON Printer Utility in the software. Note that before starting to print the image, be sure to confirm that the nozzle check pattern is complete, otherwise the quality of the print will be affected.
2. Print head calibration
In the printing process, if the print head appears to be misaligned, the printed lines, graphic outlines, and text edges will be discontinuous and not smooth, the image content will be misplaced, and the print head offset error. It will accumulate and seriously affect print quality. Therefore, print head calibration is the basis for ensuring accurate reproduction of page objects.
Taking EPSON inkjet printer as an example, the general process of print head calibration is: loading paper; setting paper thickness if necessary; printing calibration patterns (all or single); finding the line set with the smallest gap for each calibration pattern And register this number.
The steps for aligning the printheads are: 1 Load paper into the printer.
2 Press Mode Select in mode selection mode until Head Alignment Menu is displayed on the LCD panel.
3 Press the item button and PAPERTHICK=STD appears on the LCD. If you want to print on EPSON-supplied recording media (paper), leave this setting as STD; if you want to print on non-EPSON-supplied media (paper), press the "+" or "-" key. This will enter the paper thickness in 0.1 mm increments.
4 Press the Enter key to log in to the user information and the ADJUST.PATT.=ALL message appears.
5 If you want to print all adjustment patterns, press the Enter key; if you want to print a single adjustment pattern, press the “+†or “One†key until the pattern number you want to adjust appears (#1, #2, #3 ...) and press Enter again. The printer starts printing all or selected adjustment patterns. Figure 6 shows the #1 to #7 calibration patterns.
6 After printing is completed, the pattern number and the current line group number are displayed, for example #1=4. If none of the printed line groups are aligned, it means that the print head calibration still needs to be performed, but the line group with the smallest gap should be selected until the lines of one line group are aligned and the print head calibration process is completed. After this, you can press the "+" or "-" key to display the line group number. If the printout results in the smallest gap in the center group 4, indicating that the print head is calibrated, press the pause key to exit the mode selection mode.
7 Press Enter to register the line group number, the next pattern number appears, and then repeat step 6.
8 After the pattern is set, press the Pause key to return to the READY state to determine if print head calibration needs to be continued until the minimum line gap in one line group.
faux Mink Lashes are similar like mink fur lashes but competitive price. as one of popular strip lashes among eye lashes, it is natural looking, soft and handmade. also sell and pack as Lashes Sets . such as 3 pairs lashes, 4 pairs lashes, 5 Pairs Lashes , 7 Pairs Lashes , 10 Pairs Lashes, 16 pairs lashes and 20 Pairs Lashes . these fake eyelashes also have Short Eyelashes, Medium Eyelashes and Long Eyelashes . bellow are some of hot selling samples.
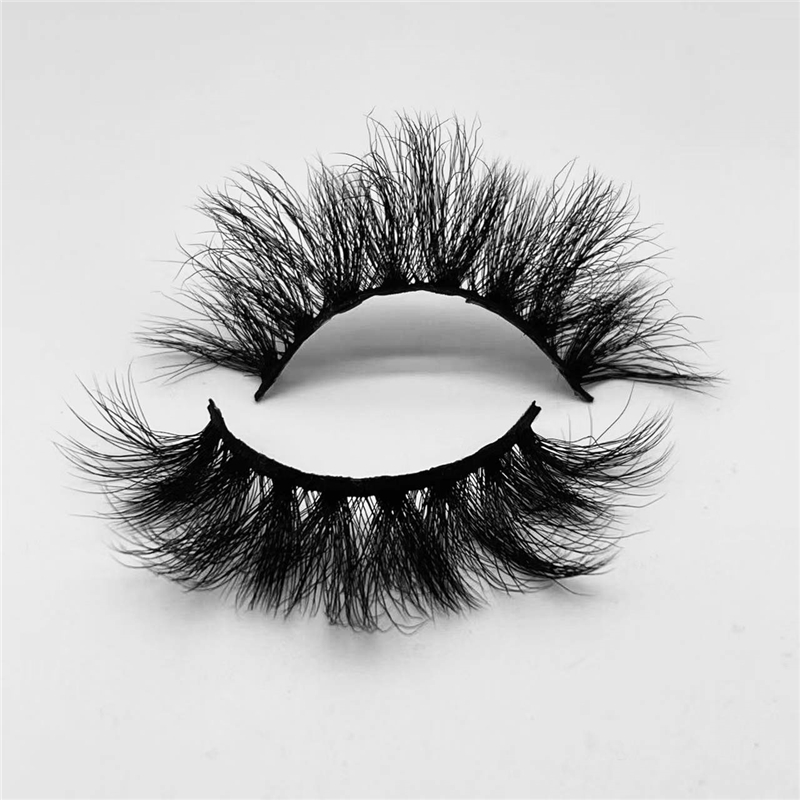
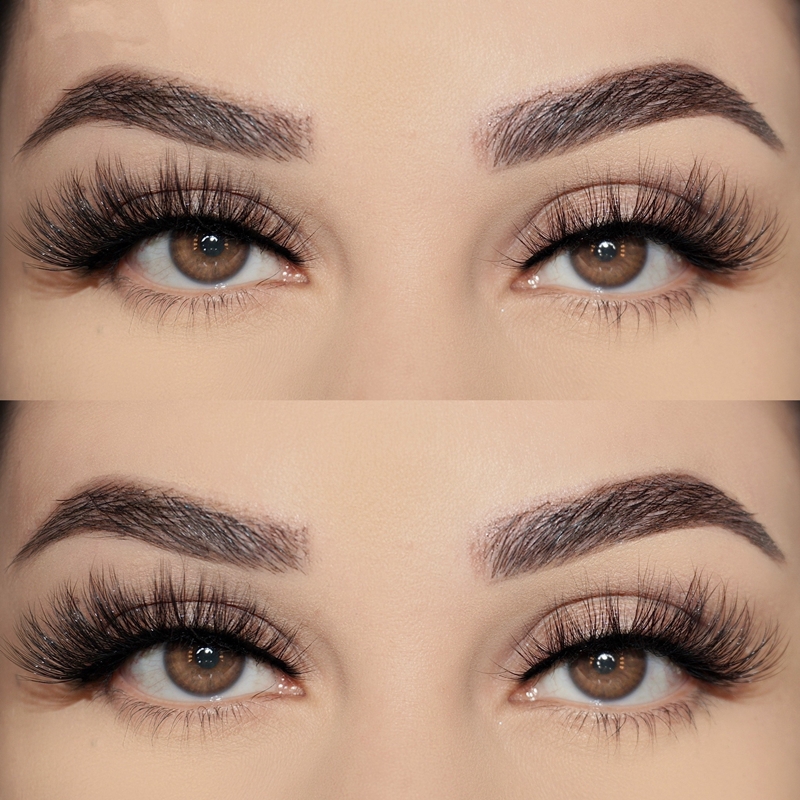
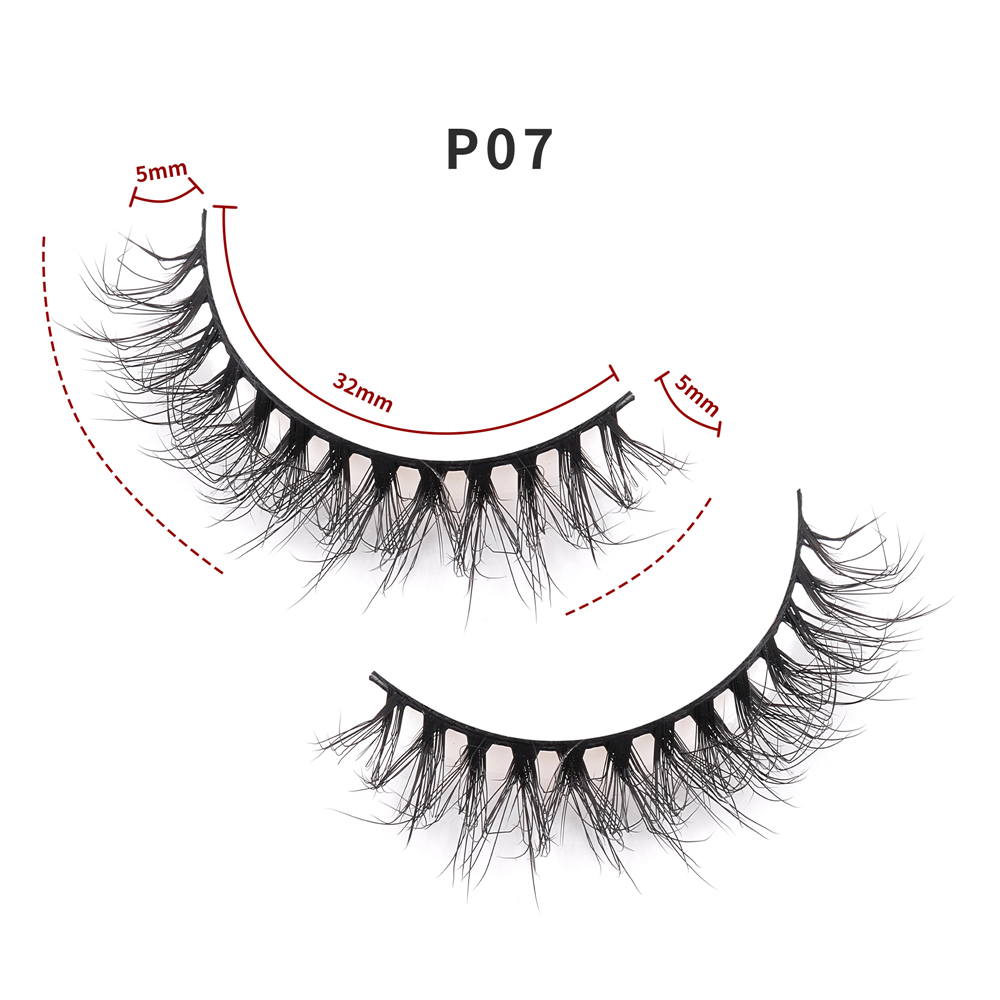
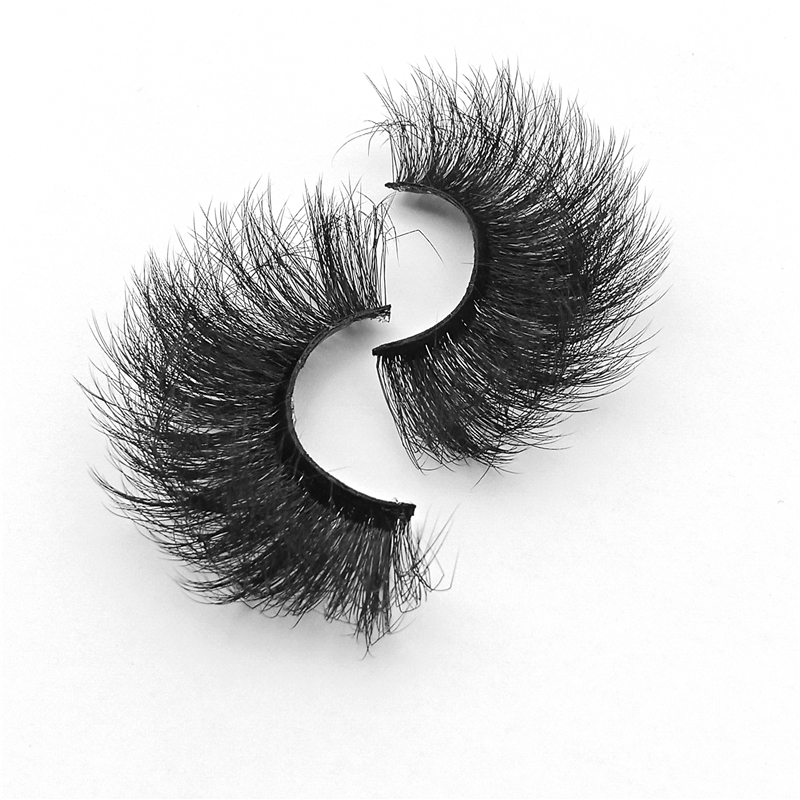
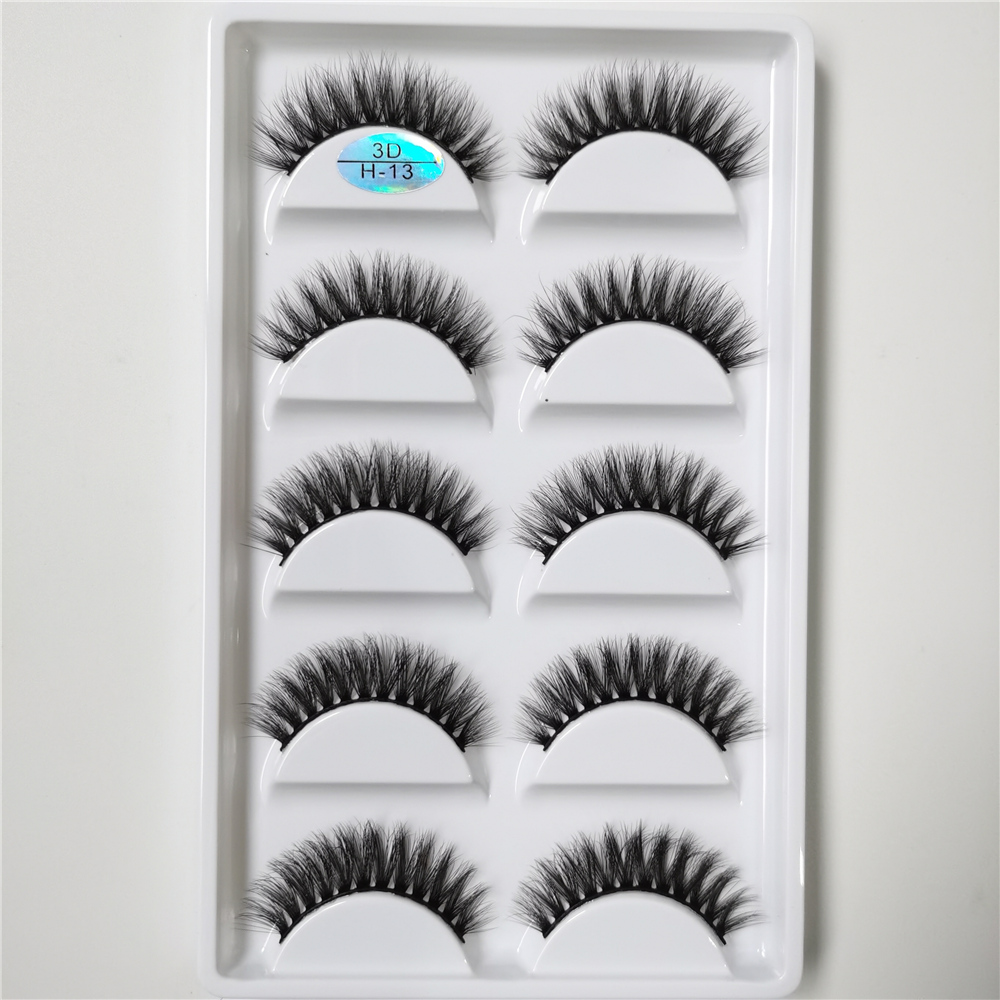
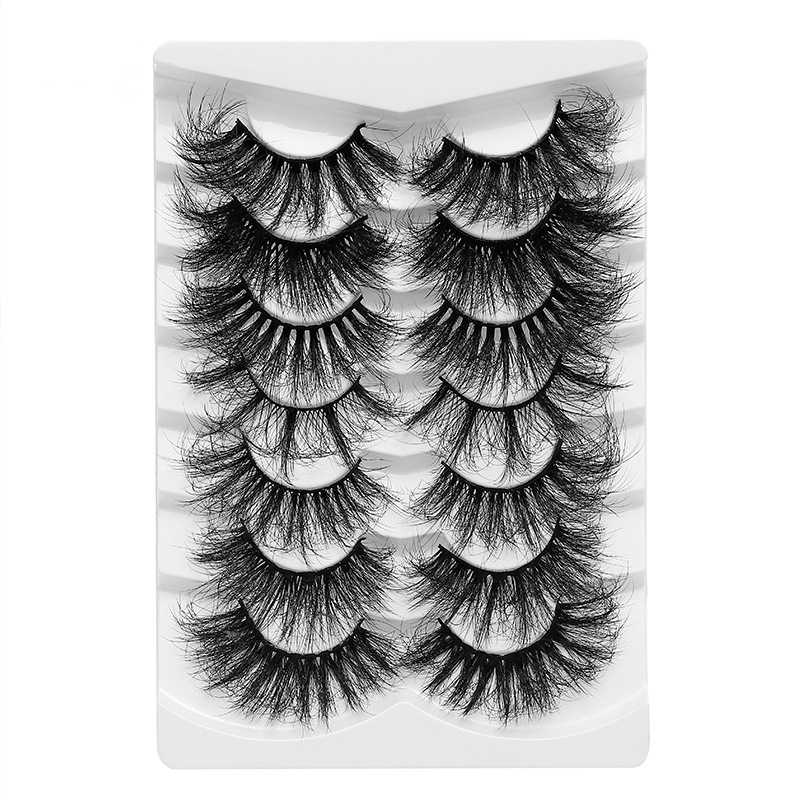
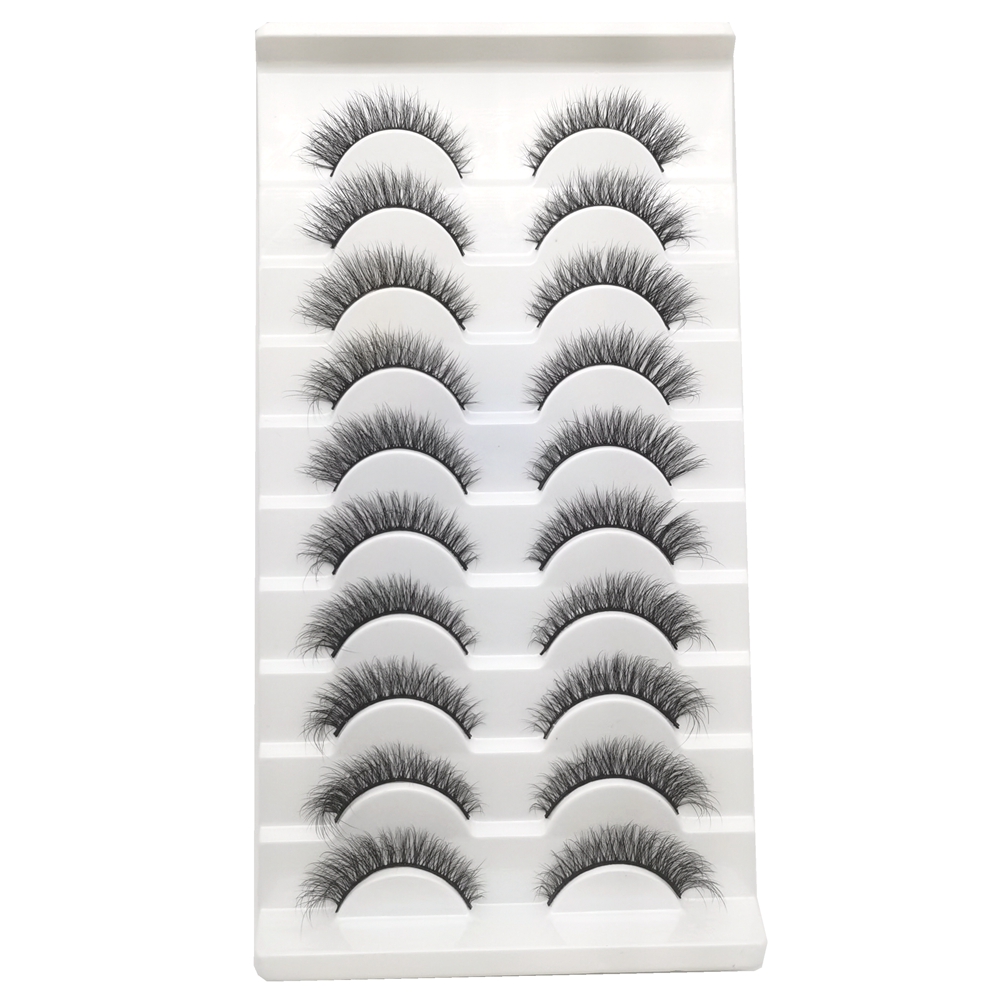
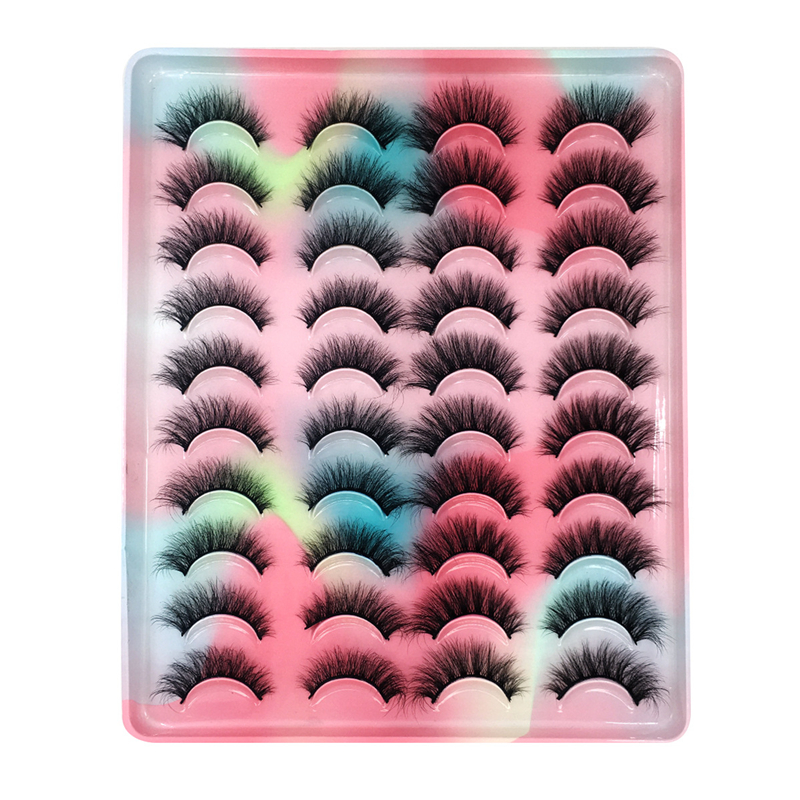
Faux Mink Lashes,Fake Eyelashes,Big Eyelashes,Short Fake Eyelashes
Zhengzhou Cuka Electronic Commerce Co., Ltd. , https://www.cukalashes.com